Tummy Kitty
Tummy Kitty
I hate seaming – that’s why I wrote this pattern. The worst thing
about making toys is when you finish knitting the separate bits, and
the poor thing sits there looking like one of Jeffry Dahmer’s
boyfriends: all in pieces with no life to it. Then you have to seam
everything, and who wants to do that? Then you’re missing an ear or
something, and you have to knit another one, but it comes out
lop-sided. Fuck that. This thing is mostly knit in one piece, from the
bottom up.
Yarn: Leftover Manos, Brown Sheep, or any stash yarn – no need to buy
yarn for this project, unless you’re an addict.
Needles: 2 sets of Double Pointed Needles, size 8 or any size that is
a bit smaller than what your yarn usually calls for (I think toys
should be knit a bit tighter than sweaters). You can get by with one
set of double pointed, and one pair of straight needles, but it’s a
tiny bit more difficult.
Techniques: M1 (K1fb), K2tog, Modified SSK (Slip one as if to knit,
Slip one as if to purl, knit through back), Kitchner stitch,
Judy’s Magic Cast-On (Iused this video, from knitpurlhunter.com):
http://www.youtube.com/watch?v=gkyd3nq3Yn8&feature=related
. . . but cast on 4 stitches per needle, not 5, as the video shows
(see pattern):
Pattern:
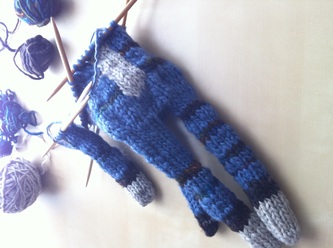
Kitty’s Right Leg (left facing leg):
Use Judy’s Magic Cast-On using white or beige yarn. Cast on 4 stitches
on each needle. Remember to knit into the back loops of the last four
stitches – see the video.
Row 1 (after knitting the 8 stitches of the Magic Cast-On): K2, M1,
K3, M1, K1 - 10 stitches total, four on the first needle, three each
on the second and third needle.
Rows 2-8: Knit in the round
Rows 9-36 Pick up Main Color, Knit. You might want to add stripes – if
you want, tie knots between Main Color and Contrasting Color – no one
will know they are there.
After Row 36 (this doesn’t need to be exact – don’t bother counting
rows each go-around, listen to a podcast or something, and count the
rows when the leg looks long enough – just make sure your legs have
the same number of rows), leave leg on two double-pointed needles. If
you are running short of double-pointed needles, you can always place
this leg on some spare size 8 straight needles, the front needle
pointing this way >, and the other pointing < that way (this will make
the leg easy to join to the body later. Break yarn, leaving a
nine-inch tail for sewing crotch seam closed. This prevents Tummy
Kitty from taking a shit in the litter box and smelling up the entire
house.
Kitty’s Left Leg:
Follow above pattern for Right Leg, using matching or contrasting (my
preference) stripes.
Do Not break yarn.
Kitty’s Body:
Knit one more round on Kitty’s Left Leg (right facing leg). Cast on 3
stitches for crotch. Join other leg. Knit around other leg. Cast on 3
stitches for back crotch. You will have 26 stitches total. Notice the
end of each row is at the end of the back crotch.
At this point, make kitty’s tail:
Tail
Magic Cast on 6 sts, knit in round until it is two thirds as long as
one of the legs.
Back to body:
Row 1 (after joining both legs and casting on crotches): Knit
Row 2: K2, M1, K4, M1, K7 (across front), M1, K4, M1, K5 – for 30 stitches total
Row 3: K3, M1, K4, M1, K9, M1, K4, M1, K5, M1; 35 stitches total
(makes an even number of sts on the back side for joining tail)
Row 4: Knit 32 sts, join tail, knit around tail to end; 41 sts total
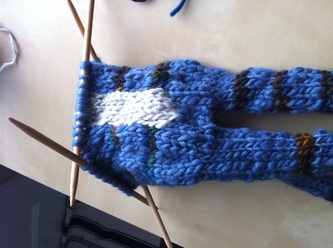
Row 5: K14, switch to white or beige yarn for the tummy, K3 (wrap Main
Color yarn behind tummy stitches), switch back to MC, K to end (wrap
beige yarn behind MC yarn every three stitches or so, like you’re
making a faire isle sweater).
Row 6: K13, switch to white yarn, K5, switch to MC, K to end
From here on out, I’m not going to specify when to pick up the
contrasting yarn, because you are not a moron, and I don’t want to
insult you. The main idea is this: when you get to Kitty’s tummy, pick
up the white or beige yarn, knit the 5 stitches, and carry the MC yarn
behind every other stitch.
I suppose you could also knit the tummy separate and sew it on, but
fuck that. Plow ahead!
Row 7: Knit
Row 8: k4 k2tog k4 k2tog k11, k2tog, k4, k2tog, k5, k2tog; for 36 sts total
Row 9: Knit
Rows 10 through whatever: Remember to add stripes and spots, if
desired. A lot of cats have stripes and shit. They evolved these
patterns over time to help them hide behind furniture when it’s time
to go to the veterinarian’s office. Hell, make your knit cat look like
your real cat. Then, when you’re finished, drop your real cat off at a
relative’s house. You won’t know the difference for the most part
– except for the horrible smell.
When you have knit up half of the body or so, stuff the legs with
waste yarn. Don’t use that fiber-fill shit, unless you don’t care
about the poor little kid who ends up with this toy. Go to the thrift
store instead, and find a wool sweater on the dollar rack, cut it to
bits, and use the wool as stuffing. I used a light-colored wool
(actually the same wool) for kitty’s paws, and a dark wool for the
main color parts. This technique prevents the stuffing from
contrasting with the body. That’s why I hate that poly fiber-fill: it
looks like shit when you see it between the stitches, and sometimes it
even pokes through like Willie Nelson’s pubic hair. Its density also
sucks. Use wool, and your toy feels like an instant heirloom. I used
the back of a small screwdriver to stuff the legs, because I’m a real man. You can use some kitchen tool or something.
Before you finish the body, start making Kitty’s arms.
Arms
Kitty’s Right Arm (left facing arm)
Use Judy’s Magic Cast-On using white or beige yarn. Cast on 4 stitches
on each needle. Remember to knit into the back loops of the last four
stitches – just like you did for the legs.
Row 1 (after knitting the 8 stitches of the Magic Cast-On): K2, M1,
K3, M1, K1 - ten stitches total, four on the first needle, three on
the second and third needle.
Rows 2-5: Knit in the round
Rows 6-21: Pick up Main Color, Knit. Add stripes and shit.
Leave arm on two double-pointed needles. If you are running short of
double-pointed needles, you can always place this arm on some spare
size 8 straight needles, the front needle pointing this way >, and the
other pointing < that way (this will make the arm easy to join to the
body later. Break yarn.
Kitty’s Left Arm
Follow above pattern for Right Arm. Leave arm on two double-pointed
needles. Break yarn.
Body (continued)
Knit until white tummy section totals 14 rows, then on next row, top
white tummy with three stitches instead of five.
Body decrease row:
K3, K2tog, K4, SSK, K9, K2tog, K4, SSK, K3, K2tog, K4, K2tog, k3; for
36 sts total
Join arms:
K5, join kitty’s left arm, K around arm, K15, join kitty’s right arm,
knit around arm, k to end; for 46 sts total
K5, K2tog, K6, SSK, K17, K2tog, K6, SSK, K6, K2tog, K3, K2tog, K2; for
50 sts total
Next Row: Knit
K4, K2tog, K6, SSK, K15, K2tog, K6, SSK, K4, SSK, K2, SSK, K2; 44 sts total
Next Row: Knit
K3, K2tog, K6, SSK, K13, K2tog, K6, SSK, K3, K2tog, K3; 39 sts total
Next Row: Knit
K2, K2tog, K6, SSK, K11, K2tog, K6, SSK, K2, SSK, K2; 34 sts total
Next Row: Knit
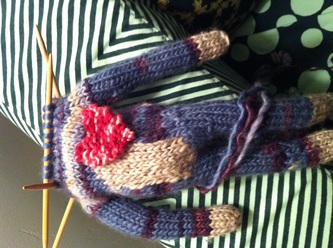
At this point, loosely stuff body with waste yarn. Make sure you have
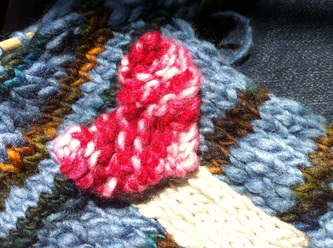
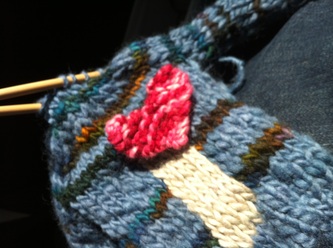
sewn crotch and armpit seams. Include a heart out of red or pink yarn:
Heart
CO1
1. K1
2. M1
3. M1, K1
4. M1, K2
5. M1, K3
6. M1, K4
7. M1, K5
8. M1, K6
9. K8
10. K8
11. K4, turn work, pick up 3rd needle
12. SSK, K2
13. SSK, K1
14. BO, break yarn leave enough of a tail to weave in and continue
with next step:
15. Join yarn at inside edge. K4
16. SSK, K2
17. SSK, K1
18. BO, break yarn, weave in ends.
Body (continued . . . )
Neck decrease:
K1, K2tog, K2, K2tog, K2, SSK, K2, SSK, K1, K2tog, K2, K2tog, K2,
K2tog, K2, SSK, K1, SSK, K1
Next Row: Knit
K2tog, K2, repeat from * 7 more times; 19 sts total
Next Row: Knit
K5, K2tog, K3, SSK,K3, K2tog; 16 sts total
Next Row: Knit
Neck increase:
*K1, Kfb, repeat from * 7 more times; 24 sts
Next Row: Knit
*K2, Kfb, repeat from * to end; 32 sts
Knit 15 rows
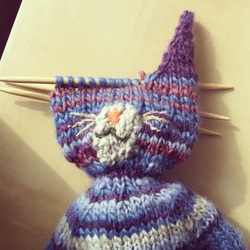
Ears
Ears will be 12 stitches each, and the space between ears is 4 sts on
front, and 4 on back (for a total of 32 sts)
Left ear:
Use Modified SSK
(Slip one as if to knit, Slip one as if to purl, knit through back)
Row 1: Join in round row: *K12, join at *
Row 2: K10, K2tog (11sts total)
Row 3: SSK, K9 (10 sts total)
Row 4: K8, K2tog (9sts total)
Row 5: SSK, K7 (8 sts total)
Row 6: K6, K2tog (7sts total)
Row 7: SSK, K5 (6 sts total)
Row 8: K4, K2tog (5sts total)
Row 9: SSK, K3 (4 sts total)
break yarn; thread yarn on needle and
pull through remaining sts.
Right ear:
Join yarn after 4 sts of forehead.
Row 1: Join in round row: *K12, join at *
Row 2: K10, K2tog (11sts total)
Row 3: SSK, K9 (10 sts total)
Row 4: K8, K2tog (9sts total)
Row 5: SSK, K7 (8 sts total)
Row 6: K6, K2tog (7sts total)
Row 7: SSK, K5 (6 sts total)
Row 8: K4, K2tog (5sts total)
Row 9: SSK, K3 (4 sts total) break yarn; thread yarn on needle and
pull through remaining sts.
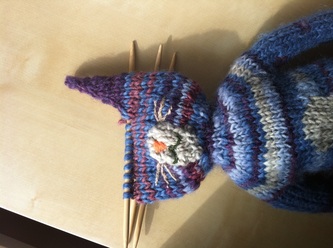
If desired, add a white knit oval white mask for mouth area. If you
can’t figure out how to knit an oval, skip this step. Sew white oval
to face.
Loosely stuff head with yarn. Graft 8 sts of top of head with Kitchner stitch.
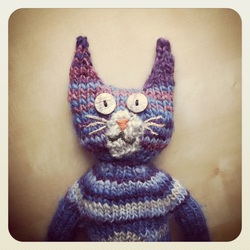
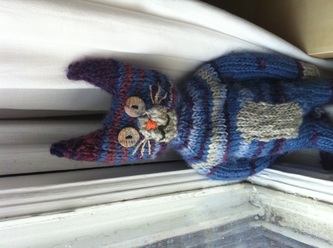
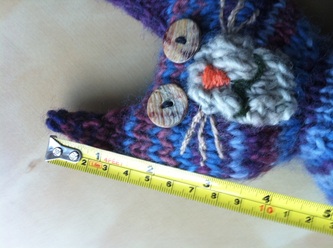
Embroider mouth, nose and whiskers with embroidery floss. Sew antique
shell buttons on for eyes.
Love your Tummy Kitty!
Thank you in advance for any notes and criticism – please post
corrections to my Ravelry account: iflamm
This is only the second pattern that I wrote. The first was for an
iPod cozy – you know, the classic iPod with the little wheel and the
small screen? I still use mine. In fact, I’m listening to it now – it
serves as my home stereo. Anyway, I know this pattern sucks, but at
least when you finish knitting, the toy is almost finished, with only
a little bit of stuffing, seaming, and embroidery. That was my goal –
to have an almost finished toy at the end of the pattern. Enjoy!
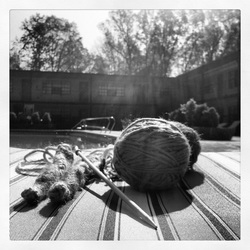
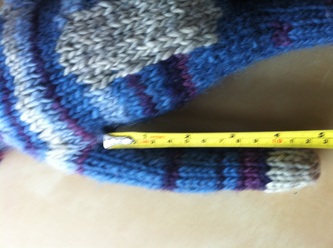
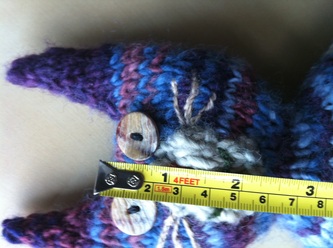
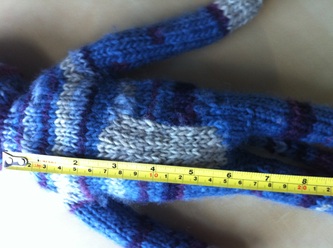
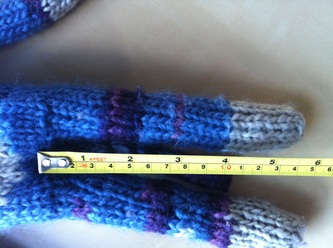
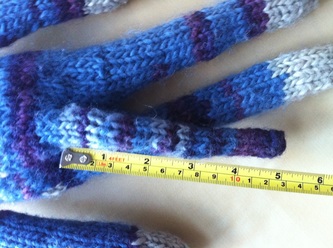
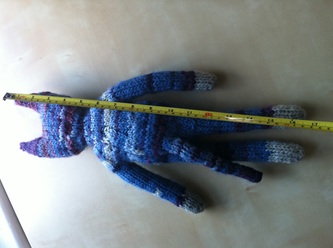
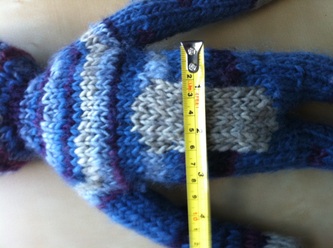
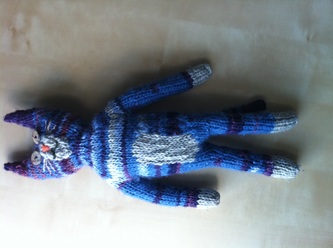
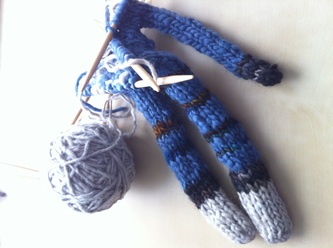
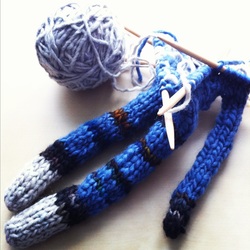
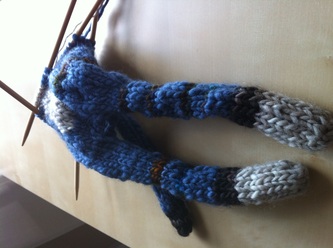
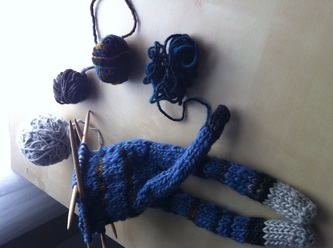
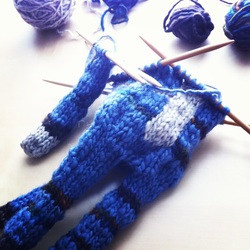
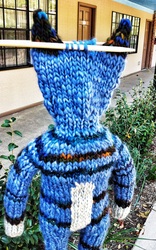
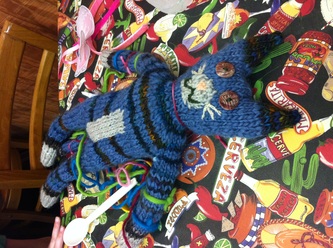
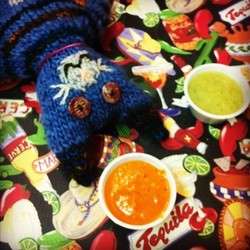
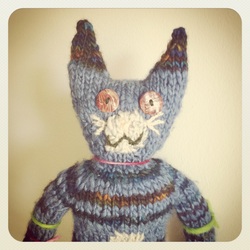
Note - the photos above represent two sisters
(I knit the pattern twice so far - there are slight variations).

